|
| Left to Right: Deonna, Anita, Karla, Grandmother, Arlene wearing their Christmas presents from me. |
I don't know about you, but I love aprons. Looking at all of the different styles of aprons out there, they range from very simple and practical cotton aprons that you can find in almost anyone's kitchen to beautifully delicate party aprons popular in the 1950s that were completely impractical for any type of cooking. I love them all and have made quite a few different styles as gifts for friends and family.
I grew up in a family where you never saw my Great Grandmother Satterfield without her apron. It was part her daily clothing. She wore the classic bib apron that is very practical and useful for everyday cooking and cleaning. That was my inspiration for starting to make aprons, and then the attraction has branched off into more elaborate and less practical applications.

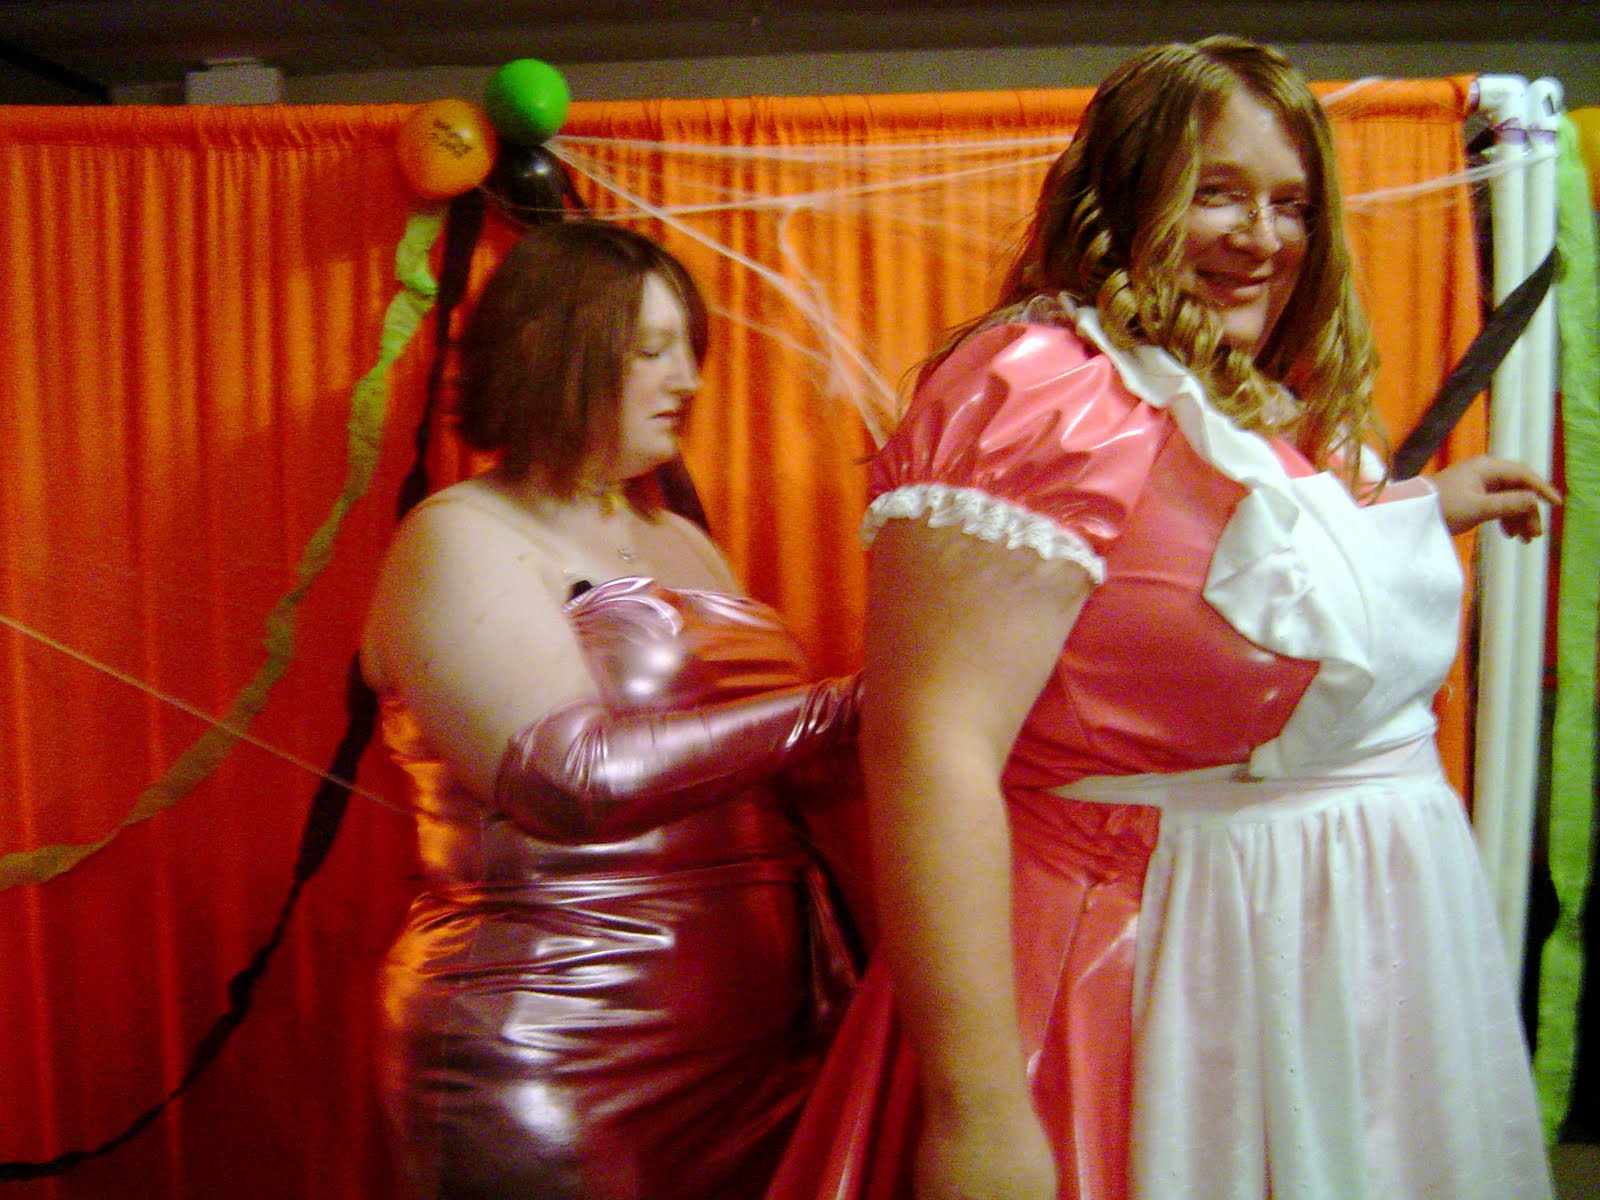
One of the first aprons that I made all on my own was using McCall's Easy Stitch 'n Save M5358. I made the style B apron, which is the one in the main picture. I made this one for my wife (then girlfriend) to complete her dolly Halloween costume. I made the bib a little wider than the pattern called for, but that was about the only adjustment I made to it. The ruffles on the sides of the bib were a little tricky to set at first, but after I got the hang of it, it wasn't so bad. I made Stephanie's apron completely in white eyelet to go along with her pink dolly shirt and skirt. I thought it turned out really great and was fairly easy to make. I would put it somewhere between beginner and intermediate just because of the potential difficulty with the ruffle. It wasn't a bad beginner apron. Totally impractical for actual cooking, but very cute. Here's a picture of us at the Halloween party.
 |
| Me tying Steffie's apron strings at Zombie Prom. |
 |
| Another frontal view of Steffie in the apron. |
 |
| Me in a more simplified version without ruffles on sides and bottom hem. |
I went back to my roots with the next round of aprons. I really wanted an apron that would have good coverage for everyone no matter what size they were. I wanted it to be simple, practical, and usable. Pockets were also a must. I found a super cute pattern at a local quilting specialty shop and used that as my basis. It's called
Absolutely Apron P133 by
Vanilla House Designs. The foundation of this particular apron is just five rectangles (2 sides, 2 pockets, 1 center/bib section), half moon shaped pocket flaps and bib accent, and complimenting trim and lining.
 |
| Vanilla House's Absolutely Apron |
The first one of this particular style I made for my friend Tanya out of this gorgeous powder blue material with a fruit print on it. I used another accent fabric that had the same powder blue background mixed in with a slightly darker blue print. I made my mother one in the same fabrics as well. I unfortunately do not have pictures of these two and wish I did. (Tanya or Mama ... can you help me out with this?)
 |
| Here's a pink floral apron I made for Steffie. The design on this fabric worked out great as a lower trim accent. |
|
 |
| Citrus themed apron that my friend Rae made me for Christmas. |
The pattern is super easy to size to the person. You just make the rectangles longer or wider as needed based on the height and weight of the person you are making it for. I've made them for my very petite aunts all the way up to a guy friend of mine who is well over 6ft tall and 400lbs. His was a pillaging pirate themed apron for when he grills if you are wondering. I've personalized them by having the person's name embroidered on the bib and have tried to match colors and fabrics to something that each person likes or will look good in. It's been a very versatile pattern overall and very easy to use. I made this particular style apron for my Aunt Arlene and my grandmother for Christmas the year before last. I made different style aprons for my cousin Karla, my other cousin's wife Deonna, and for my Aunt Anita. I'll talk about those next. Above is a picture of them after they opened their presents.
 |
| Vanilla House's Four Squares Apron |
|
Deonna's apron will be the next one that I talk about. The pattern is by the same company, Vanilla House Designs, that made the last apron. This pattern is called Four Corners Apron P132. It really is almost as simple as it looks. You start out with a basic square. You want it big enough so that when you rotate the fabric into a diamond shape the points of each side will wrap around the waist. You then cut out a second square slightly bigger than the first one so that you can fold and press the bottom edges to form the accent trim that is yellow in the picture. In this way the second square acts as both a lining for the apron and trim at the same time. The flap on the top is formed just by folding over the top corner. The pocket is a very basic rectangle pocket with a triangle flap. The red button that I put on both the pocket and the flap on the bib are completely for looks. I thought it added a nice accent. Deonna's apron is the only one that I've made of this particular style so far, but I have plans to make more. It's another super easy, super adjustable pattern that will fit anyone and everyone.
 |
| McCall's M5643 |
Anita and Karla's aprons were made using a McCall's Pattern M5643, Style Posie's Kitchen. It was fun and cute and I thought fit both of their personalities perfectly. Anita and Karla are mother and daughter, so I also wanted to make theirs coordinate with each other. The apron looks like a sundress, and I made it even more summery by using fabric that had a beachy theme. It was printed with palm trees, lounge chairs with drinks and umbrellas, and beach balls. I took solids and lightly printed materials in bright, fun colors to create the accent ruffles, straps, and flaps. I thought they both turned out super cute. And, to let you know just how adjustable these are even though they were made with just your every day patter, Karla was pregnant in this picture and it still fit just fine.
 |
| Butterick's B5435 |
And if that weren't enough, now I'm test out another pattern by Butterick, Style # B5435. It has some of the dressier party aprons in the packet and I had some pretty specialty fabric that I'd set aside for something exceptional for myself. I rarely every make anything for myself (hence my friend Rae making my citrus themed rectangle apron for me), but I fell in love with this very stylish and feminine apron with the geometric shapes created by the rickrack. Now, I will admit that my particular style came about as a misread of the pattern. When it said cut on fold, I did that on the opposite end of the pattern than was intended so ended up with more triangles than the pattern called for. I also made the apron a bit wider than the pattern directed for extra coverage. Instead of lining up every other triangle with an accent diamond, I staggered them between each triangle on the background. Also, I'm not a huge fan of rickrack either. I was going to give it a try, but it must not have been meant to be because there was absolutely no rickrack that matched any color in my fabric. Instead, I ended up using a decorator trim that had adhesive on the back of it to follow along the edge of the accent triangles. I don't completely trust the adhesive, so my plan is to stitch the trim down as well just to be safe. One package of trim (3 yards) wasn't quite enough to complete the trim of everything, so I'm not quite done yet. Here is a picture of my work in progress though. I'll post one up of me wearing it when it's complete. I've been working on a 1950s style dress in a light peach to coordinate with the main fabric.

So, to update on the peach apron above ... I would not recommend using the self-adhesive decorator trim that I purchased to finish off the triangle detail. It does not stay stuck, and it's a nightmare to sew over. The needle on my sewing machine kept getting gummed up by the adhesive and it would cause the thread to break or I'd have to every now and then take the needle out and clean it with alcohol to remove the stickiness. Don't get me wrong, it looks good when it's finished, but getting it finished was a trail! No more trim with adhesive for me. Their claim for no sew is a joke. I would never use this for any sort of home design or any sewing project for that matter. It didn't last more than a day before the trim was falling off. I'll have a picture of the finished product up soon for you to see.
Verdict still out on aprons? Hopefully this post has intrigued you a little about them. They can be practical and non-nonsense, fun and sassy, or elegant and sophisticated. Wear them while you cook or clean or dress it us and wear them while you served your loved ones a fantastic dinner. Have fun! While I wouldn't do it every day, playing Donna Reed cooking and serving dinner in a beautiful dress, heels, pearls, and equally pretty apron can be lots of fun. Try it sometime. :-D
If you'd like to see more examples of vintage aprons as well as patterns and equipment used to make them, check out this flickr album compiled of photos taken at the
Apron Springs art exhibit that has been traveling around the use for the past few years.